
How To Make Snowshoes: Homemade Snowshoes
Winter brings with it a snowy wonderland, perfect for exploration. For those seeking a unique outdoor experience, crafting your own snowshoes opens a world of possibilities. In this comprehensive guide, we'll walk you through the process of making homemade snowshoes – a cost-effective and personalized alternative to store-bought options. Join us on a journey to discover the practicality and joy of making homemade snowshoes.

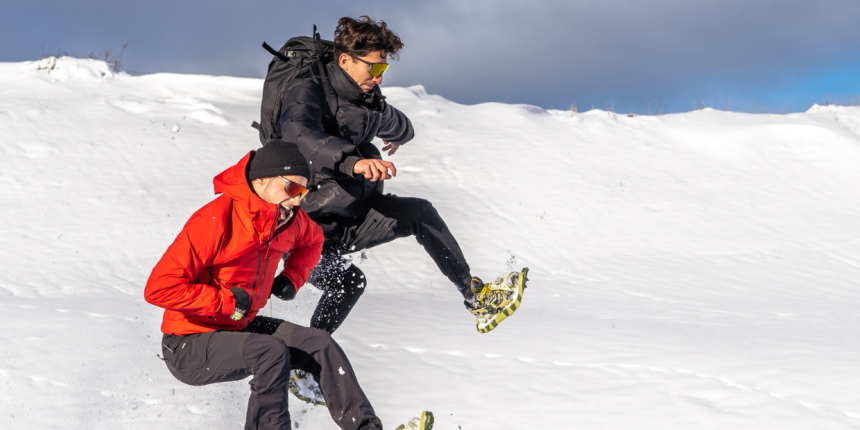
The Practicality of Snowshoeing in Winter
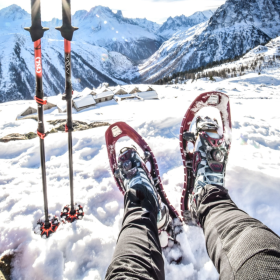
Snowshoeing is more than just a winter activity; it's a gateway to untouched landscapes and invigorating exercise. Here's why snowshoeing is a practical choice:
- Accessibility to Snowy Terrains: Snowshoeing is a full-body workout that engages various muscle groups, promoting cardiovascular health and overall fitness.
- Low Environmental Impact: Unlike some winter activities, snowshoeing has minimal environmental impact, allowing you to connect with nature responsibly.
Why settle for off-the-shelf snowshoes when you can craft your own? Discover the satisfaction and uniqueness of homemade snowshoes:
- Overview: Homemade snowshoes offer a personalized touch, reflecting your creativity and passion for the outdoors. Each pair becomes a unique expression of your craft.
- Comparison with Commercial Options: While commercial snowshoes are readily available, crafting your own allows for customization and a deeper connection to your gear. You have the flexibility to tailor your snowshoes to your preferences and needs such as snowshoes for men, snowshoes for women or snowshoes for kids.
- Introduction to DIY Spirit: Embrace the do-it-yourself spirit as you embark on a project that not only yields functional gear but also creates lasting memories. Crafting your own snowshoes is an adventure in itself.
Creating the Blueprint
Accurate markings are crucial for a well-functioning snowshoe:
- Steps to Mark the Pattern: Follow a systematic approach to mark the snowshoe pattern on your chosen material.
- Importance of Accuracy: Precise measurements ensure the functionality and symmetry of your snowshoes.
- Templates for Different Shapes: Tailor your snowshoe pattern based on the type of snow and terrain you'll encounter.
Constructing a sturdy frame sets the foundation for durable and reliable snowshoes:
- Choosing the Right Material: Select a material that balances durability and weight distribution.
- Shaping the Frame: Follow instructions to shape the frame according to the marked pattern.
- Considerations for Size and Weight Capacity: Customize the size of your snowshoes based on your weight and the expected snow conditions.
Adding Structural Support
Enhance the stability and weight-bearing capacity of your homemade snowshoes by incorporating strategically placed crossbars:
- Why Crossbars Matter: Crossbars provide structural support, distributing your weight evenly across the snowshoe frame. This is crucial for stability and prevents sinking into deep snow.
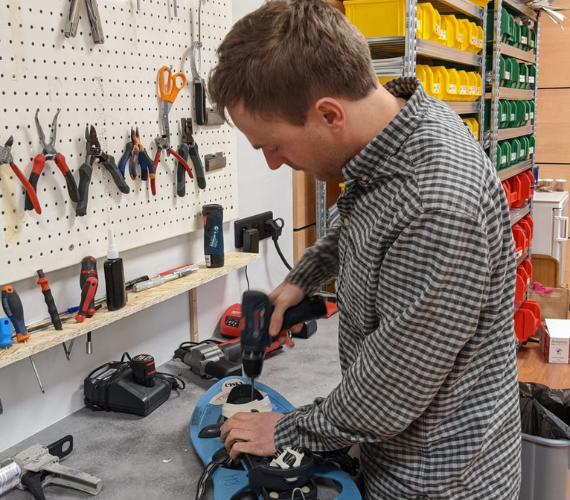
- Integrating Crossbars: Begin by determining the optimal placement for crossbars. Generally, two to three evenly spaced crossbars are effective for most snowshoe designs.
- Securing Crossbars: Once you've chosen the placement, securely attach the crossbars to the frame. This can be done through drilling and fastening with appropriate hardware.
- Testing Stability: Before proceeding to the next steps, ensure the snowshoes are stable by testing them on different surfaces. Make adjustments as needed to achieve optimal stability.
Weaving the Surface
Lacing the snowshoe frame is a crucial step that contributes to the overall performance and durability of your homemade snowshoes. Follow this detailed guide to ensure a secure and effective webbing:
- Prepare Your Webbing Material: Whether you've chosen rawhide or synthetic materials, ensure they are in good condition. Soak rawhide in water until pliable, and check synthetic materials for any defects.
- Start at the Toe: Begin lacing at the toe of the snowshoe. Secure the end of the webbing with a tight knot or by looping it around the frame. This initial anchoring is crucial for a stable foundation.
- Follow the Pattern: Refer to your marked pattern to guide the weaving process. The pattern not only enhances the snowshoe's aesthetics but also contributes to its structural integrity.
- Ensure Tension: Maintain consistent tension as you weave the webbing. A snug fit is essential for providing proper support and preventing sagging during use.
- Utilize a Lacing Needle: If using rawhide or thicker materials, a lacing needle can be helpful. It allows for easier threading through pre-drilled holes and ensures a more secure weave.
- Crossbars Integration: Pay attention to the areas where the webbing intersects with crossbars. Ensure the webbing is tightly secured around these structural elements to enhance overall stability.
- Check for Symmetry: Periodically step back and assess the symmetry of your weaving. Consistency in tension and pattern contributes to both the functionality and aesthetic appeal of the snowshoes.
- Secure the End: Once you've reached the end of the snowshoe frame, secure the webbing tightly. Use a knot or other suitable fastening method to prevent unraveling during use.
Mastering the art of weaving the surface is essential for creating snowshoes that not only look impressive but also deliver optimal performance during your winter adventures. Take your time, pay attention to detail, and enjoy the craftsmanship involved in this crucial step of the DIY snowshoe-making process.
Traditional Material for a Classic Touch
Explore the traditional use of rawhide for the snowshoe surface:
- Soaking and Preparation: Understand the process of soaking and preparing rawhide for optimal performance.
- Benefits of Rawhide: Discover the durability and traditional appeal of using rawhide.
- Maintenance and Care: Tips for maintaining and caring for rawhide to ensure longevity.
Modern Alternatives for Efficiency
While traditional rawhide has its charm, exploring modern alternatives for webbing opens up new possibilities in terms of efficiency, weight, and performance. Consider the following insights when opting for synthetic materials:
- Water-Resistant Properties: One significant advantage of synthetic materials is their inherent water resistance. Unlike rawhide, which may absorb water and add weight, synthetic options repel moisture, ensuring a lighter and more efficient snowshoe.
- Weight Considerations: Synthetic materials are generally lighter than rawhide, contributing to a more agile and less fatiguing snowshoeing experience. This is particularly beneficial during longer excursions where weight becomes a crucial factor.
- Durability and Longevity: Modern synthetic materials often exhibit excellent durability, resisting wear and tear in various winter conditions. This longevity ensures your homemade snowshoes remain a reliable companion for numerous winter adventures.
- Flexibility in Design: Synthetic materials offer greater flexibility in design and color options. This allows you to personalize your snowshoes even further, adding a touch of individuality to your outdoor gear.
- Considerations when Choosing: When selecting synthetic materials, consider factors such as nylon or polyester webbing. These materials are known for their strength, flexibility, and resistance to environmental elements.
- Pros and Cons: While synthetic materials offer numerous advantages, it's essential to weigh the pros and cons. Consider factors like cost, environmental impact, and personal preferences when deciding between traditional rawhide and modern alternatives.
- Testing in Various Conditions: Before finalizing your choice of synthetic material, consider testing your homemade snowshoes in different snow conditions. This ensures that the selected material performs well and meets your expectations.
- Adaptability to Changing Technologies: With advancements in material science, stay informed about new synthetic options entering the market. New technologies may provide enhanced features and benefits for your DIY snowshoes.

HIGHLANDER ADJUST

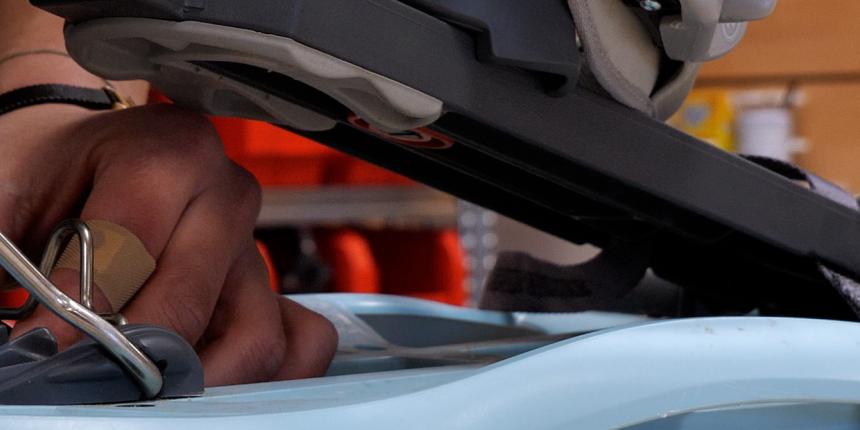
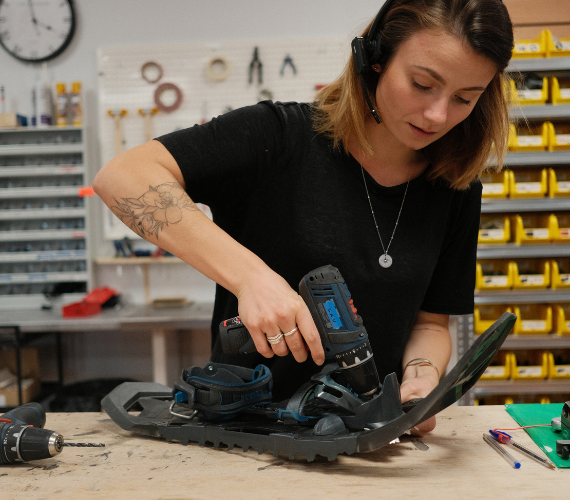
Choosing the right bindings is a pivotal step in ensuring a comfortable and secure fit during your snowshoeing adventures. Properly secured bindings contribute to stability, prevent discomfort, and enhance overall control. Here's a detailed guide on securing your steps with the right bindings:
- Understanding Binding : Explore the various binding options available, including traditional bindings with leather straps and modern options with adjustable buckles. Consider factors such as personal preference, ease of use, and the level of adjustability.
- Proper Boot Placement: Before securing the bindings, ensure your boots are correctly positioned on the snowshoes. The ball of your foot should align with the pivot point on the snowshoe for an efficient and natural stride.
- Adjustability for Comfort: Modern bindings often come with adjustable features. Take the time to customize the fit according to your preferences. A snug fit without being too tight ensures both comfort and control.
- Considering Winter Footwear: Account for the type of winter footwear you'll be using with your snowshoes. Ensure compatibility and make adjustments if needed to accommodate different boot sizes and styles.
- Strap Tension: Check the tension of the straps regularly during use. Straps that are too loose can compromise stability, while overly tight straps may cause discomfort. Find the right balance for a secure and comfortable experience.
- Emergency Release Mechanism: Some modern bindings feature quick-release mechanisms for emergency situations. Familiarize yourself with these mechanisms and how to use them to swiftly remove your snowshoes when needed.
- Personalized Adjustments: Snowshoeing terrain can vary, and personal preferences differ. Make personalized adjustments based on the specific conditions you'll be facing, whether it's deep powder, packed snow, or varying inclines.
- Testing on Different Terrains: Before embarking on a more challenging snowshoeing adventure, test your bindings on different terrains. This allows you to fine-tune adjustments and ensure your bindings are well-suited for the conditions you'll encounter.
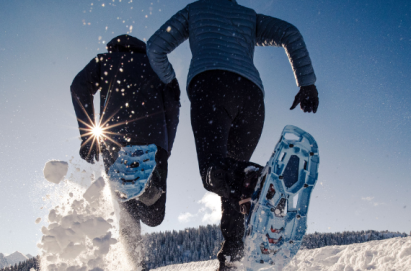
Embarking on Your DIY Snowshoe Adventure
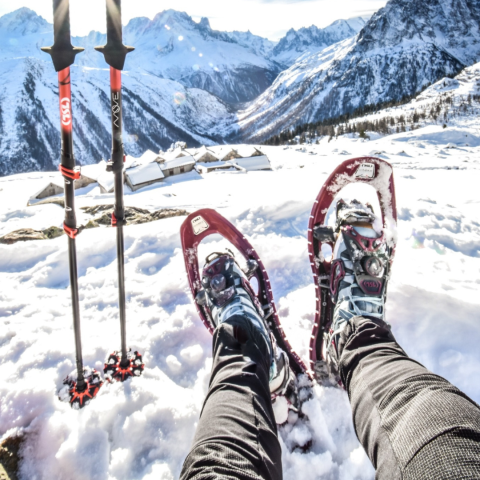
Congratulations, you've successfully crafted your homemade snowshoes, and now it's time to embark on an exciting journey into the winter wonderland. Follow these tips as you take your first steps with your unique creations:
- Choose the Right Location: Opt for a location that matches your skill level and the snowshoeing conditions. A flat, open area with fresh snow is ideal for your inaugural outing.
- Adjust Your Stride: Snowshoeing requires a wider stance than regular walking. Practice adjusting your stride to prevent your snowshoes from overlapping and tripping you up.
- Gradually Increase Difficulty: As you gain confidence, gradually explore more challenging terrains. Hills and uneven surfaces will test the capabilities of your homemade snowshoes and enhance your overall snowshoeing skills.
- Bring Essential Gear: Pack essentials such as water, snacks, extra layers, and a map of the area. Also, ensure your snowshoe repair kit is handy in case of unexpected issues.
- Share the Experience: Snowshoeing is even more enjoyable when shared with friends or family. Invite others to join you on your DIY snowshoe adventure, creating lasting memories together.
- Document Your Journey: Capture the beauty of your winter exploration. Take photos or videos to document your journey and share the joy of using your handmade snowshoes with others.
- Reflect on Your Achievement: Take a moment to reflect on the accomplishment of crafting your own snowshoes. Appreciate the unique experience and sense of pride that comes with using gear you've created with your own hands.
In conclusion, crafting your own snowshoes is not just about making gear; it's about creating memories and embracing the spirit of adventure. As you embark on your DIY snowshoe project, may each step be a testament to your creativity and passion for winter exploration. Happy snowshoeing!
Discover our last articles
BEST SNOWSHOES AND BOOTS FOR SNOWSHOEING
Read more
How To Use Trekking Poles and Why You Should Do It ?
Read more
Technology and performance at your fingertips
Read more
Which trekking poles to choose for backpacking?
Read more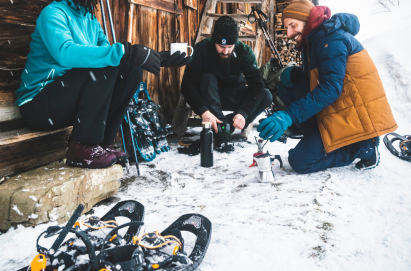
Presentation of the different TSL Snowshoe ranges
Read more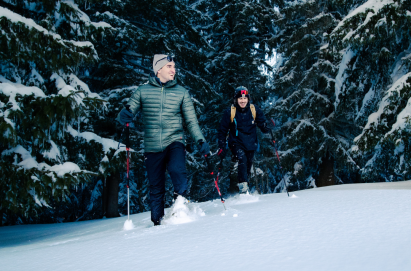
SNOWSHOES BINDING OVERVIEW
Read more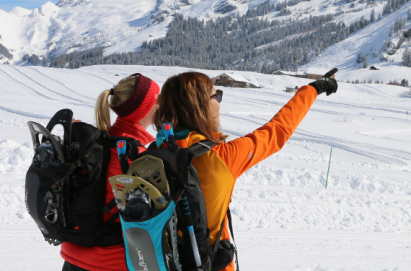
SNOWSHOEING SAFETY TIPS FOR BEGINNERS
Read more
THE MISTAKES TO AVOID IN NORDIC WALKING
Read more


